A simple way to instal MyChat Client
If you are learning about MyChat for the first time, then this simplified and quick variant is for you.
Pros of the simplified installation
- Users can install the client application directly from the installed and working MyChat Server by downloading the application in a browser.
- You do not need the elevated rights to install the program.
- You do not need to enter the address and port of your server — everything is already installed.
- You do not need to register a user — all is done automatically.
- A user can choose under which OS he wants to install MyChat Client: Windows, Android, iOS, macOS, Linux or WEB.
Installing MyChat Client on Windows in three steps
Do it in the MyChat Server GUI application to avoid searching the address and port:

If there are several network interfaces, the program will propose you to choose one of them.
A browser will open with the following page:
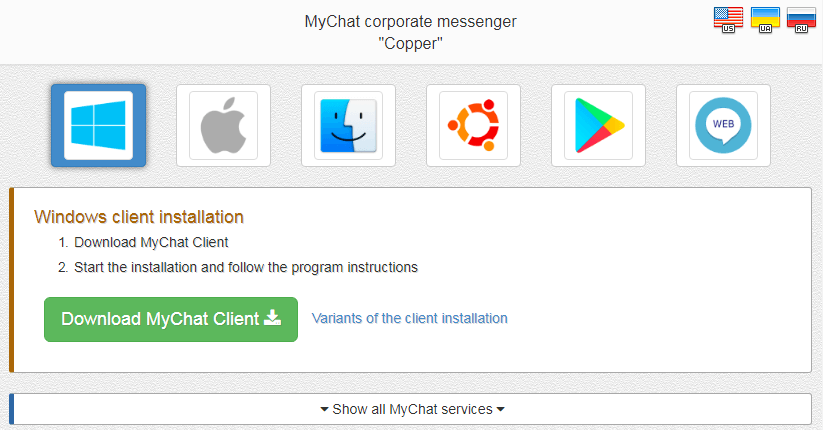
2. Download the client application installer
Share a link from the browser address bar to your users via email, for example, and they will be able to do it by themselves.
Click on the green button "Download MyChat Client" and download the installer file:
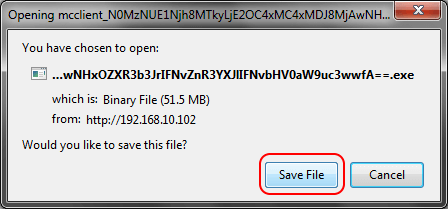
Do not change the name of this file — it has encrypted parameters for connection to the server.
Launch the installer file:

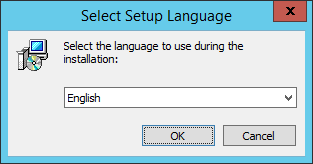
Choose MyChat Client setup language:
Confirm, that you are ready to start the installation:
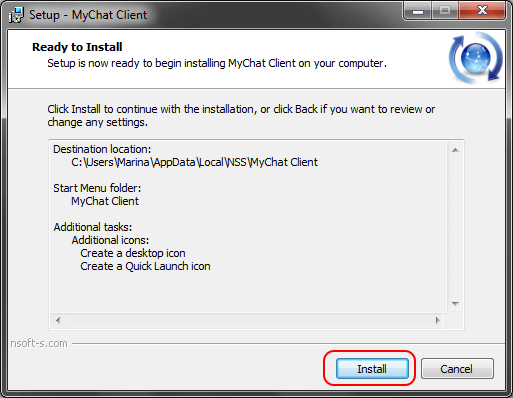
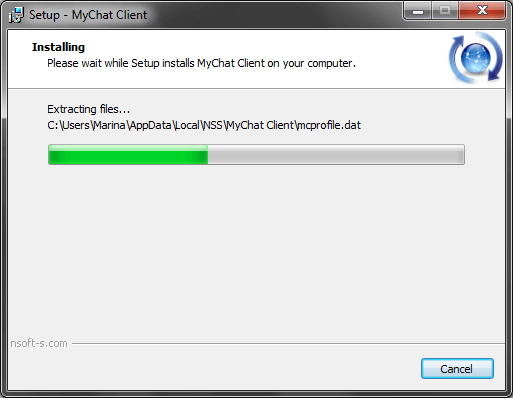
Client application installation process:
MyChat Client launches immediately, then it connects to your server, registers a user by his login from Windows and invites you to fill your profile:
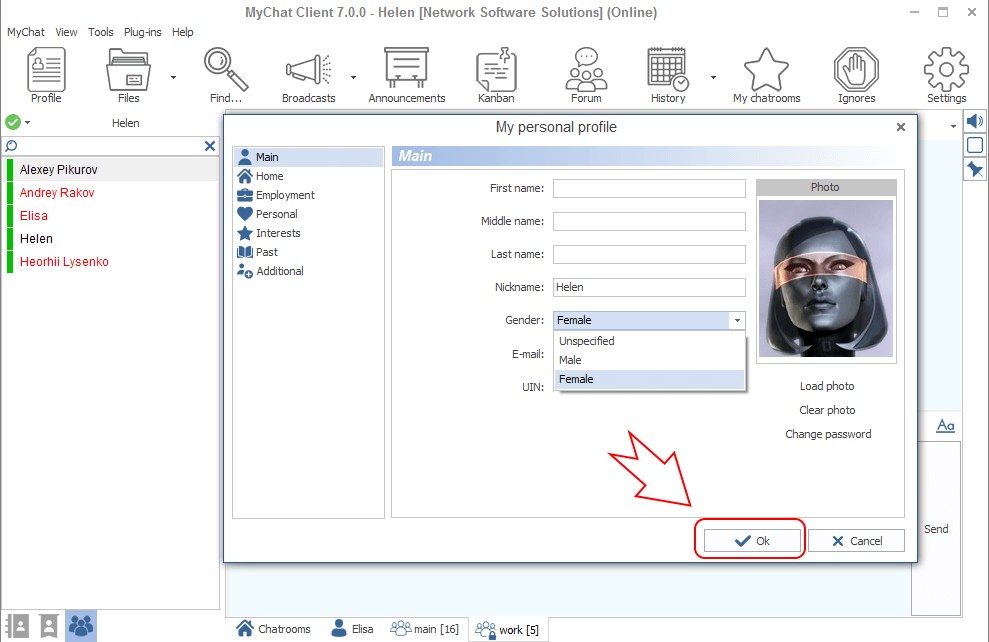
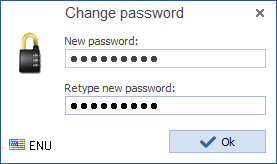
Click "Ok" and the profile window will close. Now type your password to enter:
Installation completed!